Showing posts with label winter sewing. Show all posts

Tuesday, November 14, 2017

Blackwood Cardigan


I finally sewed something for myself! I needed a quick project requiring no thinking after all my sewing for Project Run and Play. The Blackwood Cardigan from Helen's Closet was the perfect thing! I bought the pattern back in September and planned to sew it up right away but then life  happened and it got pushed to the side. I'm glad I finally made it! I'm always cold, and living in Minnesota this time of year makes cardigans an essential wardrobe item!


I've been trying really hard to use my stash whenever possible. I bought this hacci sweater knit fabric from Girl Charlee two years ago. I didn't buy it with a project in mind, so it's been sitting in my stash for these last two years waiting to be sewed. Luckily I bought 2 yards, which is the exact requirement for view A in size medium!

The pattern is designed to be open at the front and it is perfect for layering. There are two versions - the hip length or the mid thigh length with patch pockets. I made the longer version but I left off the pockets because my fabric was not the best to work with! It was super stretchy and the pockets were not laying flat when I attempted to pin them on, so I thought it would be better to leave them off. I think they would be great on a more stable knit.


I wear a cardigan or sweater almost everyday in the winter time! I've been wanting a longer cardigan, so this was a perfect pattern to try. The directions were simple and straight forward as well. Helen offers a lot of tips for sewing with knits which is great if you haven't sewn knits before. I also like that there are no buttons in the front. I rarely wear my cardigans buttoned up.


I really like the extra long sleeves of this cardigan. Usually I have to lengthen sleeves, but I made no alterations to this cardigan. This cardigan layers great under a coat and you can pull the sleeves down to cover your hands.


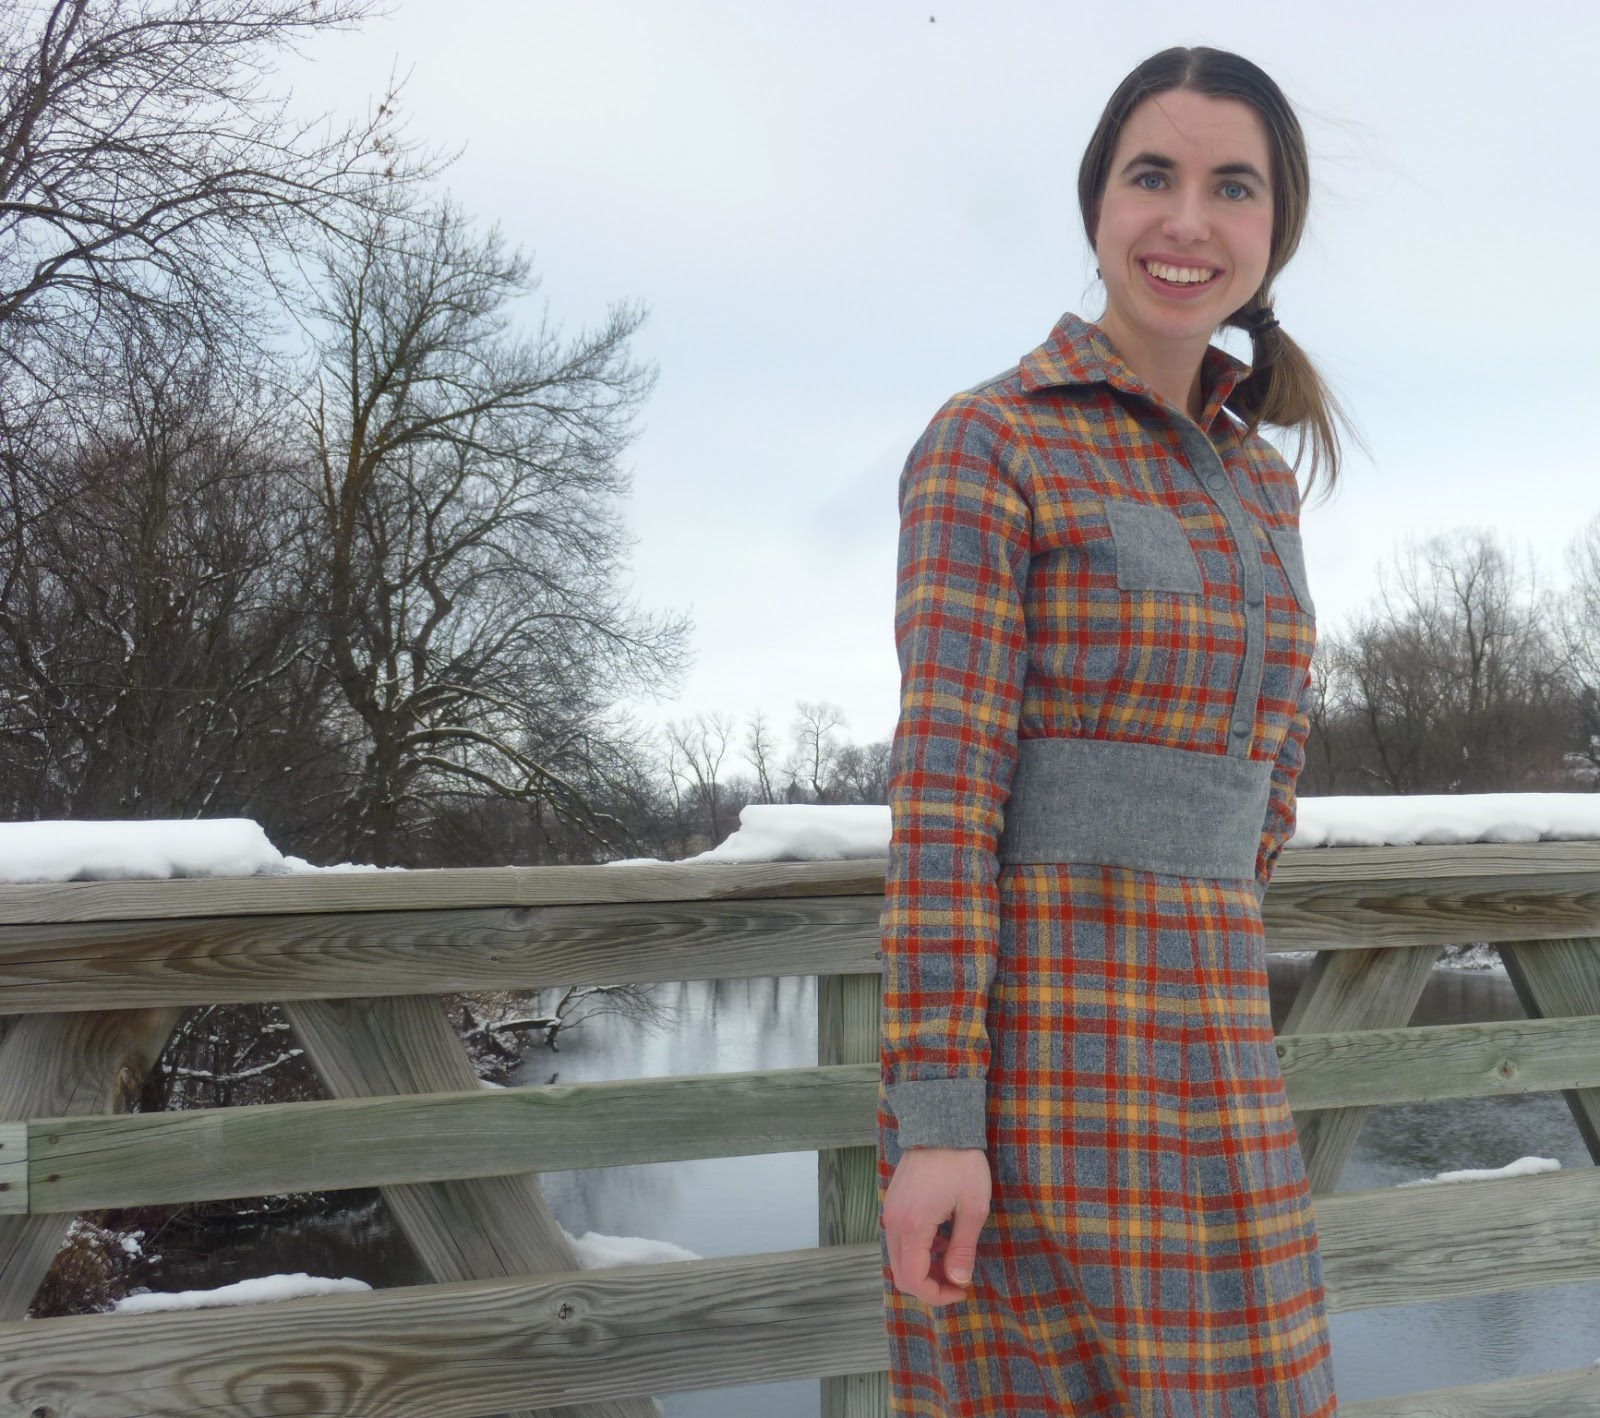
Unfortunately, my tripod broke right before I started taking these pictures! Fortunately I was by a bridge so I just set my camera on the ledge and used my self timer. It seemed to work pretty well!


I layered the cardigan over my favorite Lady Skater dress with boots and a scarf. This is a pretty classic look for me this time of year! It was cold and windy, but I stayed fairly warm during the photoshoot with my cardigan and fleece lined leggings. 


I sewed this cardigan on my sewing machine, but would have loved to use a serger. The front band got a little wavy and stretched out, but I steamed it enough that it's not too noticeable. A walking foot may have helped some too, but I was going for quick and easy while sewing this project!


I decided to use the wrong side of the sweater knit for the bands. I like the different texture and subtle detail it adds. This knit is really soft and I can see myself getting a lot of wear out of it this winter! 


Funny story about this photoshoot - the bridge is by a walking trail and there were a few people out while I was taking pictures. While I was checking my camera to see how the pictures were turning out, a guy walked by and saw me with the camera. He told me he just saw a bald eagle in a tree on the other side of the river. He wanted to show me, so we walked a little farther down the bridge and I was able to zoom in really close and get a few pictures! The guy kept on with his walk after he had showed me and told me to have fun. Haha! If only he knew the real reason I was out taking pictures!


I had fun sewing something for myself and I definitely want to sew this pattern again. I really like the long cardigan, but I want to try the shorter version as well. 

Do you have a favorite cardigan pattern? What do you have on your sewing table now? 

~Elizabeth

Tuesday, November 7, 2017

Project Run and Play Week 4 // Totally Turquoise


Wow! I am so excited to be back for the final week of Project Run and Play! I never imagined making it to Signature Style week. It has been an amazing experience and I have enjoyed every minute! It is truly a dream come true to just be a part of this competition! Thank you so much for reading my blog posts, commenting, voting, and supporting me these past few weeks! A huge thank you to my family and friends who have put up with my nonstop talk about Project Run and Play too! 

Signature style was not an easy challenge for me. I mostly sew for myself and my siblings and my style can be different depending on who I am sewing for and my style also depends on the season. I drew up six different designs before scrapping them all and coming up with this look. Turquoise is my favorite color ever and I knew it had to be part of my design, so when I found this wool turquoise in my stash it was perfect! 


I am a skirt girl, so I knew I had to make a skirt as part of my design. I love the classic look of circle skirts too, so I used the circle skirt from the Janie dress pattern to make my sister's skirt. I lined it in a bright pink floral because my sister's favorite color is pink. All of the seams are enclosed, so the skirt is reversible if my sister wants to wear it with the pink side facing out. 


The big floral design inspired me to do some embroidery on the wool side. I like adding details to my designs, and the solid turquoise was the perfect canvas for some embroidery. I chose to embroider some of the big pink flowers along the hem of the skirt. I didn't have any embroidery thread, so I used grey topstitching thread and it worked just as well! 


Here's some up close pictures of the embroidery. I chose to use a chain stitch for most of the flowers. I used a stem stitch on a few as well. This took the most time, but I am happy with the final result!


 The grey shirt also started with the Janie dress. I used the bodice and lengthened it a few inches to make it shirt length. I also widened the neckline by five inches so I could add in some gathering.  I love the subtle detail it adds and it really takes the shirt above t-shirt level. I used turquoise knit for the neckband to tie it in with the rest of the outfit. 


Her poor little nose was getting red from the cold, but she did so great putting up with all my pictures!

I love wearing scarfs, so I made my sister a simple infinity scarf using this turquoise and orange floral rayon challis. This fabric was going to be the skirt when I first started. However, it was so off grain that no matter what I did there was no hope. Fortunately, it makes a cute scarf!


My signature style look was going to end with just the shirt, skirt, and scarf. However, the Minnesota weather suddenly turned colder and I decided my sister needed something to keep warm! 

I started with an old sweater of mine, that I have been holding onto for a few years. The buttons were falling off and it had a missing snap. It also didn't fit me right, which is why I never wore it, but I loved the details so I kept it hoping for the perfect project.


I decided to use the Friday dress bodice to make a jacket. I cut the bodice in half, close to the armscye. Then I cut the bottom of the sweater to add the length back in. I wanted to use the collar and the sleeve cuffs from the sweater because I loved the details. I used the long sleeve pattern from the Friday dress pattern, but I cut them shorter so as to add the cuffs. I like how the cuffs add almost a bell like sleeve to the jacket. For the collar, I pinned it on to determine how much I needed to take off and then sewed it on. 


I added some decorative topstitching to the shoulder seams and I double topstitched around the collar. I also sewed both buttons from the sweater onto the collar. I decided on snaps for a closure so it will be easy for my sister to dress herself. 


This jacket was not planned at all when I started sewing my signature style. However, it is now my favorite piece of the whole outfit! My only regret is that it is not my size!


Finally, the earwarmer completes the look and will be perfect for keeping my little sister warm on these brisk and cool winter days. I was inspired by a similar one that I made for myself a few years ago. I used the same pattern from Kay Whitt's book, but I resized it for my sister. I used pink fleece for the bottom layer and the turquoise wool for the top. I love the little flower and it goes great with my overall floral theme. 

Here are a few more pictures we took indoors at the library! 


I hope you enjoyed seeing my signature style! It's totally turquoise, and totally my style. I love how versatile these pieces are and my sister will be able to mix and match with the other outfits I made! Thank you again for joining me on this journey!

 Don't forget to head over the the Project Run and Play blog and vote!

~Elizabeth

Monday, January 30, 2017

Mad for Plaid // Novelista Pattern Hack


Hello and Happy 2017!! I realize it is almost February, but I am so excited to be back blogging and share this project with you! Ever since I saw this amazing Novelista hack  from Falafel and the Bee, I knew I needed a Novelista dress in my life. To add to the fun, I decided to make it in plaid and use the skirt from the By Hand London Anna Dress, which happens to be seven gores. To say cutting it out was a headache would be an understatement!

The plaid fabric is Robert Kaufman flannel and after sewing with it, I'm not sure if I can ever use anything else. It is amazingly soft and high quality. I only had 3 yards of it too, so I was holding my breath to get all the pieces cut.


Hacking the Novelista Shirt  into a dress was pretty simple. First, I held the pattern pieces up to myself to decide where I wanted it to to end. I sewed the shortened bodice following the pattern instructions. Next, I sewed the skirt panels together and added a four inch wide band to the top of the skirt. Then I sewed the skirt and bodice together. At first the bodice was too big and I was not able to ease it in to fit the skirt. My aunt gave me the genius idea to gather the bodice slightly and I love how it looks!


You may be wondering how I got the dress on since the snaps only go half way down the bodice. Enter, the side zipper! There is a funny story behind this. I had finished my dress and there was no side zipper. I tried it on and forced the dress over my head. It fit really, really well. In fact, it fit so well that I couldn't get it off! I had a feeling that might happen, but I was hoping I wouldn't have to sew in a zipper. I ended up using my seam ripper and taking out enough of the side seam to get myself out of the dress. Seam rippers are lifesavers!

I am really happy with how well the plaid matches up where the zipper is sewn. You can hardly even see it!


The contrasting grey fabric is scraps of wool from my stash. It is almost a perfect match to the grey in the plaid. I hate the itchy feeling of wool, so I interlined the yoke and waistband with some brown linen (also from my stash). The button placket and sleeve cuffs are interlined with the flannel. The dress is soft and cozy all around!


The button placket ended up being super thick with the wool and flannel, so I decided to use snaps instead of buttonholes. The only snaps I could find at Joann's almost didn't go through all my layers of fabric, but somehow it all worked out!

I also topstitched the waistband with one of my machine's decorative stitches. It's adds a really subtle detail to the dress.


I am trying to embrace the cold, but my hands were not having it! By the time I was finished, they felt like ice. Minnesota is not the best place for blog photo shoots this time of year!


The only change I made to the skirt pieces was to lengthen the midi length by 4 inches. I also sewed a one inch hem. 

Here is a look at the inside of my dress with the brown linen interlining. All of my seams are finished with my overlock stitch on my sewing machine. It is time consuming (and uses so much thread!) but worth it to have nicely finished seams. 


Sleeve plackets are not my forte, but I'm improving! I really wanted the plaid to match here, but I ran out of fabric.


This is the first time I have successfully hacked a pattern and I love how it turned out! I think a chambray, short sleeve version with a circle skirt would be lovely for spring! 

~Elizabeth

Wednesday, March 5, 2014

Pinafore Dress

 
This week, I was inspired by Tricia from the Farmish Momma to make this Pinafore Dress after she posted pictures of one she made with some instructions here. I am friends with her oldest daughter, whom I have seen pictures of wearing dresses similar to this one. However, I never knew they were handmade! I loved the style after I first saw my friend's dress, so I was happy to find out I could make one myself!

 
The construction was so easy! I read the blog post and that same night I cut out the pieces to make the dress, which are basically two rectangles plus the straps. The instructions given in the post say to make the skirt by multiplying your hip measurement by 4. However, I thought that would make the skirt a little too gathered for me (and Tricia made the dress for a younger girl) so I multiplied my hip measurement by 3. I think next time, even doubling it would be enough.
 
In the back I decided not to cross the straps, but you can if you want to. I also used an invisible zipper, but any type of zipper would work just fine. I also didn't put the zipper up far enough when sewing it in, but it's not that big of a problem.
 
 
It's hard to tell in these pictures, but I used red thread for the topstitching. I made a wide 6 inch waistband and the skirt hits just past my knee. The fabric is some I've had in my stash for many years. It is wool and was given to me by a sewing friend when my interest in making clothing first began. There must've been 4 or 5 yards total because I have previously used this fabric to make both me and my mom a skirt. I had enough for this dress and there are still a few bits and pieces left.

 
I want to make more of these dresses in cotton. They would be perfect for the summer and I think my sister would like one too! The wool is perfect for the weather we're having now though. It is so warm to wear, but I was freezing when I took these pictures! It was only 3 degrees! Brrrrr!

 
The skirt is very full and so fun to twirl!
 
Linking up with Farmish Momma for the Pinterest Pin-along.

~Elizabeth

Wednesday, February 19, 2014

Go-To Cape and Winter Boots

This week, the challenge over at Project Sewn is "If the Shoe Fits". The idea is to pick your favorite pair of shoes and sew an outfit to go with. I live in Minnesota. And right now we have tons of snow! So for this challenge, I chose my winter boots because they definitely keep my feet warm and dry, which is perfect if you have to walk around outside in this weather!

Do you wanna build a snowman??
 
In case you're wondering, yes, I did build a snowman, by myself, wearing my Lady Skater dress, leggings and boots. I put my cape on afterwards though.
 
I thought my Go-To cape would be perfect with my winter boots. It is a fully lined cape made using purple plaid wool and plain purple flannel for the lining. I was actully getting hot standing in the sun while I took pictures. It is 40 degrees today - a heat wave compared to the weather we've been having here!

 
The cape has an oversized hood, which is one of my favorite parts! I also made the peekaboo lining - you can see the lining "peeking out" on the hood. The pattern calls for four 3/4" buttons, but I thought that size was too small, so I used four 1 1/8" buttons. They worked perfectly!
 
 
Andrea, of Go-To Patterns, designed this cape to hit at the hip level. However, I wanted a longer cape, so I cut out the long length, which is for people taller than 5'9" (I'm 5'7").


 I was having fun with the photo shoot! You can see the plaid in this picture too. It's harder than you think setting up a tripod in the snow and running back and forth after every picture. The snow is pretty deep too! There must be over a foot accumulated in the back yard - the snow almost came to the top of my boots.


Here's the back. I have always been afraid of sewing with plaid, but I did it! And the back seam matches up!!

I received the plaid wool from a friend and have had it for a few years. I knew I was keeping it for a reason! It is so warm and pretty thick. I bought the flannel at Jo-Ann Fabrics when it was on sale, and I was able to use a gift card, so I only ended up spending $15 for 4 yards of flannel. That's a deal!

Oh, you know, just contemplating life. :)

 
Finally, here's a better picture of my boots, since the snow covered them in almost all my other pictures. They were the whole inspiration for my outfit. As you can see, they're pretty wet in this picture, but they kept my feet dry!

Would you wear a cape?

~Elizabeth